Add a personal touch to your interactions with Condition elements. Additionally, condition elements can also be used to check the validity of user input.
Now let’s see how to add a conditional element in Messenger Monk.
Steps To Create Conditional Element In Chatbot Flow #
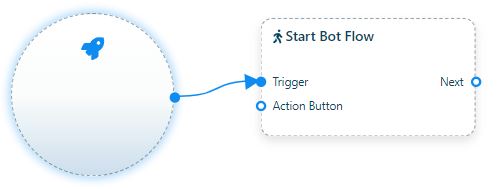
1.First, select the element for which you want the Conditional Reply to be triggered and connect it through the Start Bot Flow element.
2. Right-click on the interface and then select the Condition element.
3. A Conditional element box will appear, click on it to configure the Conditional elements.
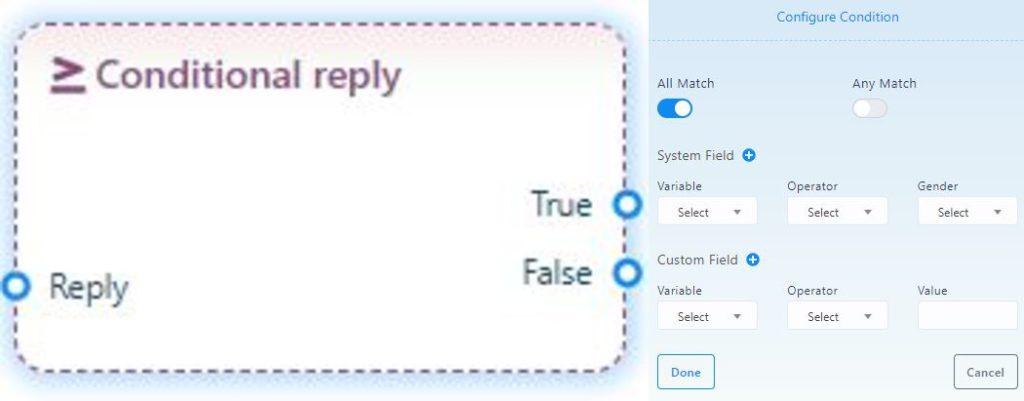
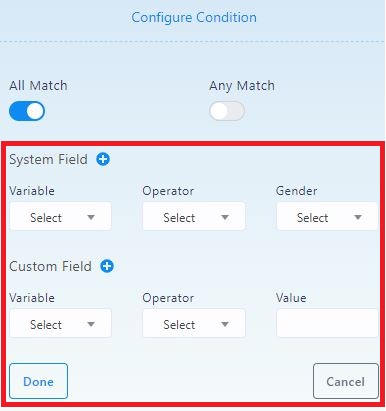
4. Select preferred Match Type.
5. Select all the preferred conditional parameters and then click on “Done.”
6. Now select the preferred element for the “True” or “False” condition and connect those node sockets.

7. Well, congratulations! You have now successfully completed the Condition element.


